How to use PDF patterns with images
Posted by CouleureStaff onHave you ever experienced pasting PDF patterns together?
It seems that it will take time and effort, but the PDF pattern of Kururu is
It is designed to be easy to attach .
Even if it takes a little time the first time, it will be quick from the second time.
Please feel free to try the PDF.
I will tell you the tips of pasting with images.
✂️ How to use PDF patterns
・When printing, first set the printer to "100%".
・Output the first page of the PDF pattern or the second page of the guide booklet
・Check that the "scale guide" is 5 cm square (1 inch square)
・ If it is not 5 cm, fine-tune the output settings.
Example: 99%, 101%, etc.
・If output is correct, output the rest. Black and white is OK.
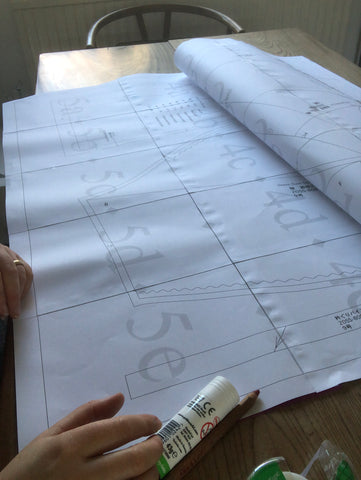
・While referring to the “Gluing diagram”, align the notches of ▶︎ to make a ■,
Paste them together.
Tips to make PDF stitching easier
1. There is no need to cut all the top, bottom, left, and right margins .
2. For right-handers, cut off the right edge and bottom margin.
If you are left-handed, cut the left edge and bottom for a smoother look .
No big deal, but the biggest trick
3. Stick together using cellophane tape or glue.
For Staff K, stick glue or tape glue is quick and recommended.
If this is your first time, please take a look at the images!

Some people use rotary cutters instead of scissors and cutters.


0 comments